

Makar Amigurumi
Makar is the adorable Korok you meet in the Forest Haven with the Deku Tree in the Legend of Zelda Wind Waker. With the popularity of Breath of the Wild and the release of Tears of the Kingdom, Koroks have made a comeback in popularity. This is an expert crochet pattern.

Hi everyone!
If you ask me what my favorite Zelda game is, Wind Waker is definitely at the top. I already have one crochet pattern for Wind Waker and I’ve been meaning to design a Makar amigurumi for a long time.
The world of Zelda is full of different species Link gets to interact with, and that includes the Koroks. Originally making their appearance in Wind Waker, they sprang back up in Breath of the Wild.
Helping Makar get into the heart of the wind temple to play his violin was one of the highlights of Wind Waker for me. Not to mention that the soundtrack for the Molgera boss fight slapped so hard.
Clicking on certain links may result in a small commission for me at no extra cost to you. Money generated from this allows me to continue to design and post cute amigurumi patterns for you all!
Crochet Korok
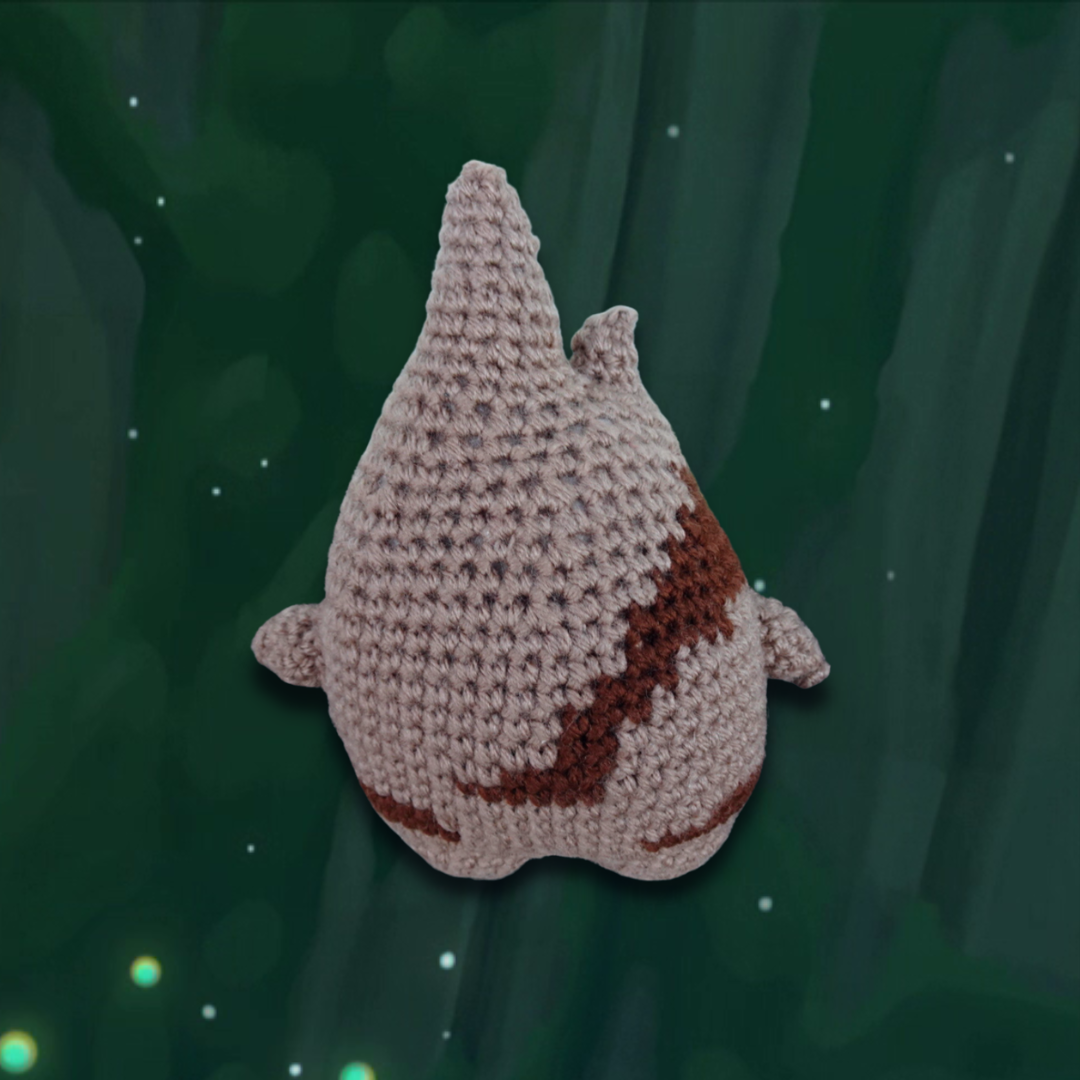
Makar is a Zelda character from Wind Waker. This is an expert crochet pattern due to a large amount of yarn colour changes. Unless otherwise stated, the Korok amigurumi is worked in the round, and using a stitch marker and row counter is highly recommended. The finished plushie measures 6” tall by 5” wide.
HELPFUL TIP: If you’re having trouble with the stitch count, it is OK if it isn’t the same as the below pattern AS LONG as you use a stitch marker at the beginning of each round. Crochet in each stitch until the end of the round and don’t change a colour until the next round states to do so. You’ll notice that every round that has a colour change says “sc until the end of the round.” As long as one horn is smaller than the other, you’ll be OK. You can still follow the decreases and end up with the same result.


What You’ll Need:
1 128g ball of Loops & Threads Impeccable in Soft Taupe (light brown)
1 128g ball of Loops & Threads Impeccable in Chocolate Brown (dark brown)
1 ball of Craftsmart Value yarn in Leaf Green
Polyfill (stuffing)
Black felt
Scissors
Stitch marker
Sewing pins
Darning needle
Hot glue gun
Abbreviations:
ch=chain
sc=single crochet
dc=double crochet
ss=slip stitch
st(s)=stitch(es)
F/O=fasten off
inc=increase
dec=decrease
dctog=double crochet decrease
Gauge:
20 stitches x 20 rows = 4” in single crochet
Find the FREE version here. This download is a printable PDF free of ads.
This is an expert crochet pattern due to a large amount of yarn color changes. The wood spirit amigurumi is worked in the round unless otherwise stated, and using a stitch marker is highly recommended. The finished plushie measures 6” tall by 5” wide.
This crochet pattern is inspired by the video game character Makar and other Koroks from the Legend of Zelda video games.
🪵 Expert Pattern
🪵 Wood Spirit Plushie
🪵 Written Crochet Tutorial
🪵 Ad Free Download
Crochet pattern designed by Summerbug Crafts. Feel free to sell plushies made using this pattern, but give credit to @summerbugcrafts! 🐞
How to purchase:
✔ Click “PURCHASE”
✔ Enter Your Email
✔ Input Shipping Information
✔ Select Payment
✔ Complete Checkout
Thank you for shopping from Summerbug Crafts! 🐞
Pattern:
Legs:
Eventually turns into the body/horns. Use a 3.00mm crochet hook. Start with Soft Taupe.
1. Ch 2. 6 sc in the first ch. (6 sts)
2. 2 sc in each st around. (12 sts)
3. 1 sc, inc. Repeat around. (18 sts)
4 - 5. Sc in each st around. (18 sts)
Ss and F/O. Repeat rounds 1 to 5 for the 2nd leg, but don’t F/O. Attach the 2nd leg to the 1st with a sc.
Body:
Continue after attaching the legs together.
6. Sc around both legs now that they are attached. Sc 19 in the first leg until you get to where the two legs meet. Skip 2 sts. Sc in the next 17 sts around the 2nd leg. Skip the last 2 sts at the end of the round. You should be back to the beginning where the two legs meet again. Ss. (36 sts)
7. 1 sc, inc. Repeat around. (54 sts)
8. Sc in the first 6 sts. Switch to dark brown. Sc in the next 12 sts. Switch to light brown. Sc in the next 8 sts. Switch to dark brown. Sc until the end of the round. (54 sts)
9. Switch to light brown. Sc in the next 7 sts. Switch to dark brown. Sc in the next 8 sts. Switch to light brown. Sc in the next 12 sts. Switch to dark brown. Sc in the next 15 sts. Switch to light brown. Sc until the end of the round. (54 sts)
10. Sc in the next 32 sts. Switch to dark brown. Sc in the next 7 sts. Switch to light brown. Sc until the end of the round. (54 sts)
11. Sc in each st around. (54 sts)
12. Sc in the next 20 sts. Switch to dark brown. Sc in the next 6 sts. Switch to light brown. Sc until the end of the round. (54 sts)
13. Sc in the next 20 sts. Switch to dark brown. Sc in the next 4 sts. Switch the light brown. Sc until the end of the roung. (54 sts)
14. Sc in the next 20 sts. Switch to dark brown. Sc in the next 2 sts. Switch to light brown. Sc until the end of the round. (54 sts)
15. Switch to dark brown. Sc in the next 6 sts. Switch to light brown. Sc in the next 13 sts. Switch to dark brown. Sc in the next 3 sts. Switch to light brown. Sc until the end of the round. (54 sts)
16. Sc in the next 4 sts. Switch to dark brown. Sc in the next 3 sts. Switch to light brown. Sc in the next 11 sts. Switch to dark brown. Sc in the next 3 sts. Switch to light brown. Sc until the end of the round. (54 sts)
17. Sc in the next 5 sts. Switch to dark brown. Sc in the next 6 sts. Switch to light brown. Sc in the next 4 sts. Switch to dark brown. Sc in the next 5 sts. Switch to light brown. Sc until the end of the round. (54 sts)
18. Sc in the next 5 sts. Switch to dark brown. Sc in the next 15 sts. Switch to light brown. Sc in the next 14 sts. Switch to dark brown. Sc in the next 5 sts. Switch to light brown. Sc until the end of the round. (54 sts)
19. Sc in the next 6 sts. Switch to dark brown. Dec, 6 sc, dec, 3 sc. Switch to light brown. 6 sc and dec for the remainder of the round. (48 sts)
20. Sc in the next 7 sts. Switch to dark brown. Sc in the next 9 sts. Switch to light brown. Sc until the end of the round. (48 sts)
21. 5 sc, dec, sc. Switch to dark brown. 4 sc, dec, sc. Switch to light brown. 4 sc, dec. 5 sc and dec for the remainder of the round. (42 sts)
22. Sc in the first 7 sts. Switch to dark brown. Sc in the next 4 sts. Switch to light brown. Sc until the end of the round. (42 sts)
23. 4 sc, dec, 2 sc. Switch to dark brown. 2 sc, dec. Switch to light brown. 4 sc and dec for the remainder of the round. (36 sts)
24. Sc in each st around. (36 sts)
25. 3 sc, dec. Repeat around. (30 sts)
26. Sc in each st around. (30 sts)
Do not ss and F/O. Continues onto the horns.


Small Horn:
Check out the photos 1 - 4 in the gallery above for reference.
27. Sc into the next 8 sts. Ss into the beginning of the round. This is where the small horn will be.
28. Sc in each st around. (10 sts)
29 - 30. Repeat round 28. (10 sts)
31. 1 sc, dec. Repeat around.
Ss and F/O.
Stuff the body and the small horn before moving on to the large horn.
Large Horn:
Attach light brown yarn to the open hole of the body at the base of the small horn with a sc.
1. Ch 1. Sc in each st around. (20 sts)
2. Sc in each st around. (20 sts)
Stuff the rest of the body and the horn as you go.
3. 4 sc, dec. Repeat around. (16 sts)
4. Sc in each st around. (16 sts)
5. Repeat round 4. (16 sts)
6. 3 sc, dec. Repeat around. (14 sts)
7. Sc in each st around. (14 sts)
8. 2 sc, dec. Repeat around. (10 sts)
9. Sc in each st around. (10 sts)
10. 1 sc, dec. Repeat around. (8 sts)
Ss and F/O.
Use the remaining tails to sew up any holes left, including between the legs.
Arms:
Use light brown and a 3.00mm crochet hook.
1. Ch 2. 4 sc in the first ch. (4 sts)
2. Sc in each st around. (4 sts)
3. 2 sc in each st around. (8 sts)
4 - 5. Sc in each st around. (8 sts)
Ss and F/O. Leave a long enough tail to attach the arm to the body at rounds 15 -16. Repeat for the 2nd arm. You don’t need to stuff the arms. If you do stuff the arms, make sure it is light.
Leaf:
Use green yarn and a 3.25mm crochet hook. Worked in rows.
1. Ch 11. Sc in the 2nd ch from the hook. Sc in each ch across. (10 sts)
2. Ch 1. Turn. 2 dc in the first st. Dc in the next 8 sts. 2 dc in the last st. (12 sts)
3. Ch 1. Turn. Dctog. Dc in the next 8 sts. Dctog. (10 sts)
4 - 6. Repeat row 3 until you have 4 sts left.
7. Ch 1. Turn. Dctog x 2. (2 sts)
Now worked in the round.
8. Ch 1. Turn. Sc around.
9. Sc around until your reach the bottom center of the leaf (wider end). Ch 4. Sc in the 2nd ch from the hook. Sc until you reach the bottom of the leaf again and then finish sc’ing around the leaf.
Ss and F/O.
Attach the leaf to the body. Choose whichever side you’d prefer.
Leaf Edge:
After attaching the leaf to the body, you’ll sc the green yarn to the edge of the leaf and sc around the entire thing with your 3.25mm crochet hook. This will create a defined edge and make the leaf pop from the body. This is optional depending on the look you’re going for. If you need help, check out my TikTok video for reference!
Face:
Use a sheet of black felt to cut out the face. Hot glue the pieces to the leaf.
How to crochet the leaf edge for Makar
I hope you enjoyed my Makar crochet pattern! The Legend of Zelda has always been my favorite video game franchise. I’m sure you could modify this amigurumi pattern to make any Korok you want.
Please take photos of any Makar’s or Koroks you crochet and tag me on social media @summerbugcrafts. I’d love to see how yours turned out and share it with my followers!
Don’t forget to save this pattern to Pinterest for later or share it on social media!

You Might like…

