

Zelda Wind Waker Pig
Use this free crochet pig pattern to make the pigs from the Legend of Zelda Wind Waker. Did anyone else spend hours chasing these pigs around Outset Island or trying to throw them off the cliffs of Windfall?
Hi everyone!
The Legend of Zelda is probably my true love in life. I had to design a free Zelda crochet pattern eventually, and I decided to start with making a Wind Waker pig plush.
I loved playing the Legend of Zelda Wind Waker as a child. I spent all day chasing and feeding the pigs on Outset Island. Because of this, I would say that this Legend of Zelda crochet pattern is my favorite design.
Clicking on certain links may result in a small commission for me at no extra cost to you. Money generated from this allows me to continue to design and post cute amigurumi patterns for you all!

Pig Crochet Pattern
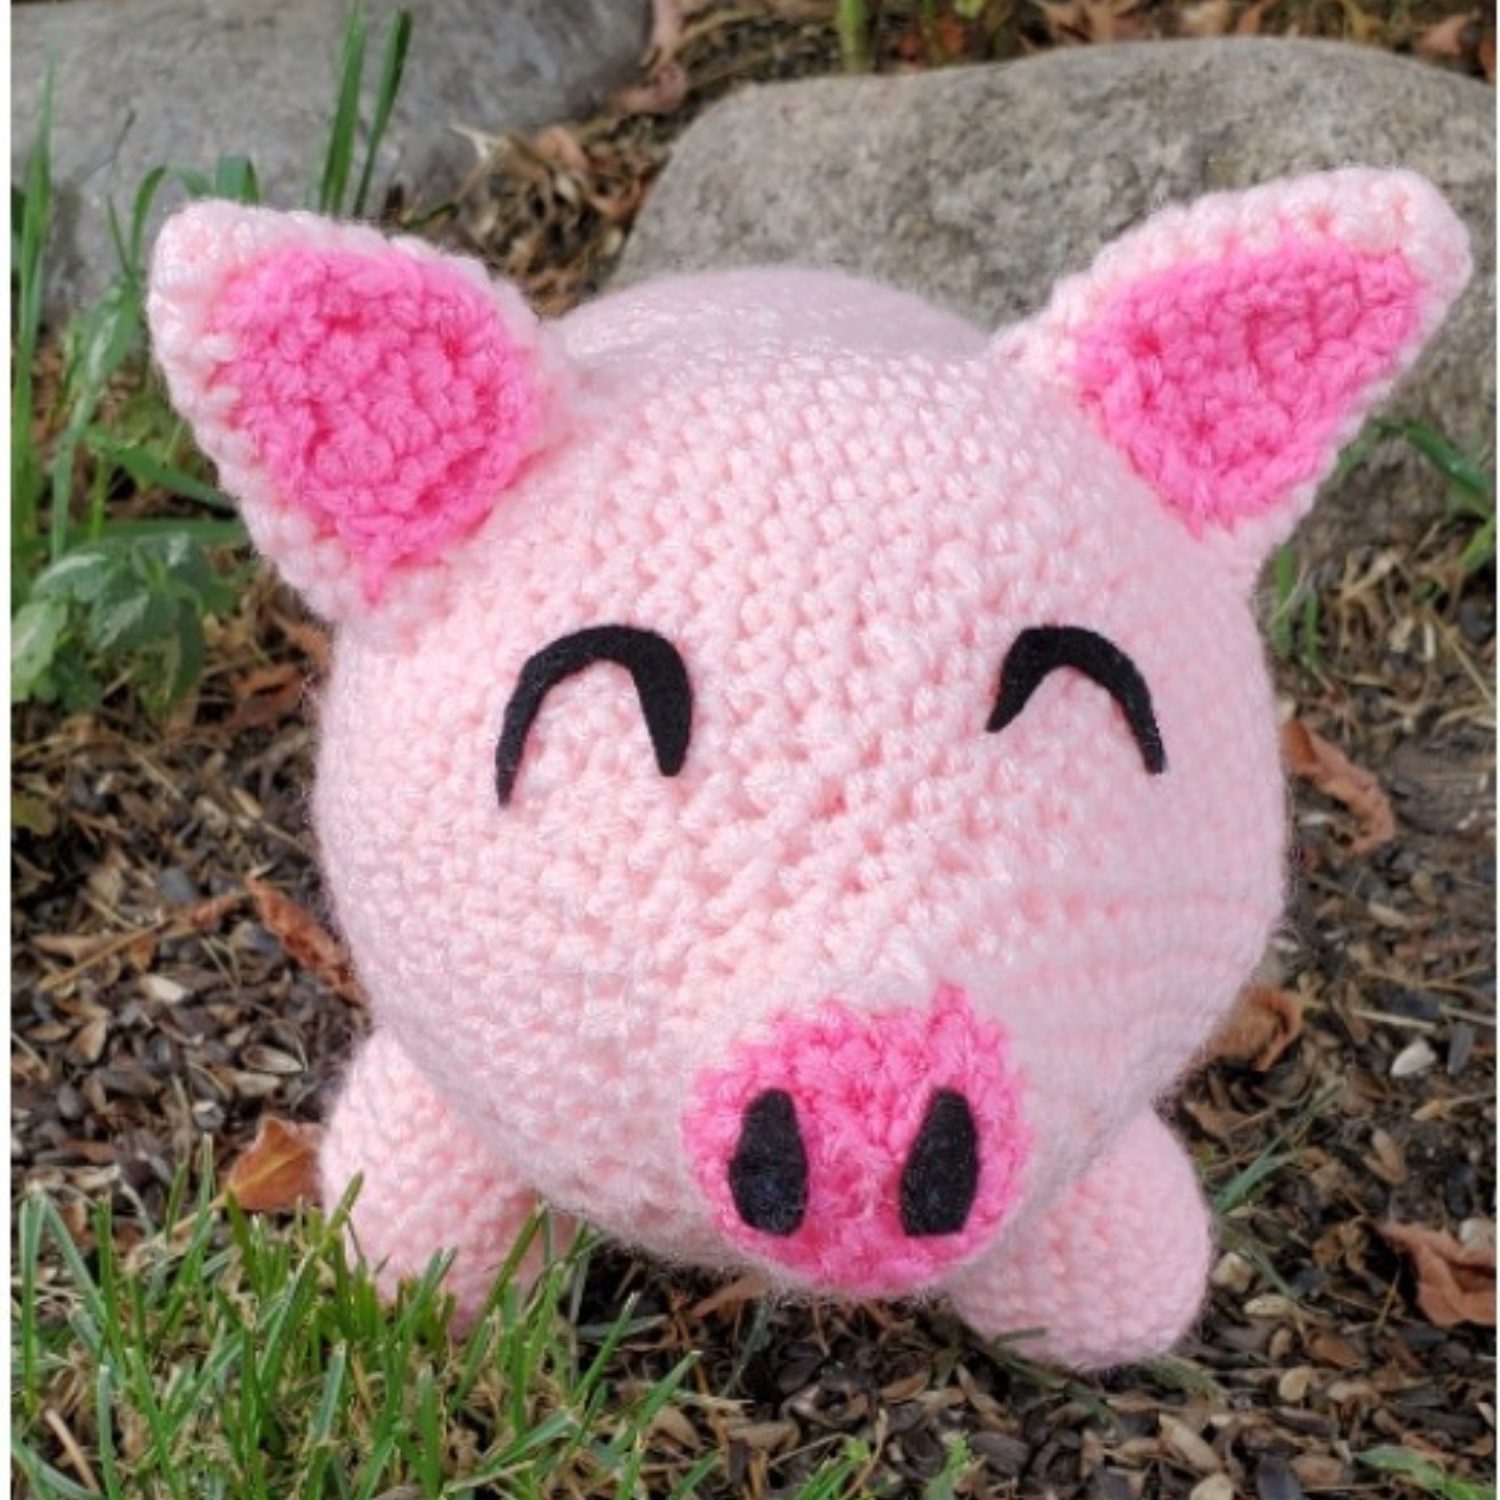
This crochet pig stands 6.5” tall and 5.5” wide. This pattern is worked in the round and a stitch marker and row counter are recommended. Sewing pins will keep all limbs in place while sewing together!

What You’ll Need:
1 ball of worsted-weight yarn in light pink
1 small ball of worsted-weight yarn in dark pink
Black felt for the eyes and nose
Polyfill (stuffing)
Fabric glue
Scissors
Stitch Marker
Darning needle
Sewing Pins
Abbreviations:
ch=chain
sc=single crochet
hdc=half-double crochet
ss=slip stitch
st(s)=stitch(es)
F/O=fasten off
inc=increase
dec=decrease
Gauge:
16 stitches x 16 rows = 4” in single crochet
Amigurumi Pattern:
The body, head, and snout are worked as one piece!
Pig’s Body: Start with light pink
1. Ch 2. 6 sc in the first ch. Do not join.
2. 2 sc in each st around.
3. *1 sc, inc. Repeat from * around.
4. *2 sc, inc. Repeat from * around.
5. *3 sc, inc. Repeat from * around.
6. *4 sc, inc. Repeat from * around.
7. *5 sc, inc. Repeat from * around.
8. *6 sc, inc. Repeat from * around.
9 – 20. Sc in each st around.
21. *6 sc, dec. Repeat from * around.
Do not fasten off!
Pig’s Head: Continue using light pink
22. *6 sc, inc. Repeat from * around.
23. *7 sc, inc. Repeat from * around.
24. *8 sc, inc. Repeat from * around.
25 – 27. Sc in each st around.
28. *8 sc, dec. Repeat from * around.
29. Sc in each st around.
30. *7 sc, dec. Repeat from * around.
31. Sc in each st around.
32. *6 sc, dec. Repeat from * around.
33. Sc in each st around.
34. *5 sc, dec. Repeat from * around.
35. Sc in each st around.
36. *4 sc, dec. Repeat from * around.
37. *3 sc, dec. Repeat from * around.
38. *2 sc, dec. Repeat from * around.
Start stuffing. Do not fasten off!
Pig Snout: Continue with light pink
39 – 42. Sc in each st around.
Switch to dark pink.
43. Sc around in the back loop only.
44. * 1 sc, dec. Repeat from * around.
45. Dec around.
Ss and F/O. Use the tail to sew up the hole.
Pig Ears: Use light pink/make 2
1. Ch 2. 6 sc in the first ch. Do not join.
2. Sc in each st around.
3. *1 sc, inc. Repeat from * around.
4. Sc in each st around.
5. *2 sc, inc. Repeat from * around.
6. Sc in each st around.
7. *3 sc, inc. Repeat from * around.
8 – 10. Sc in each st around.
Ss and F/O. Leave long enough tail to sew them to the top of the head at round 25. Do not stuff ears.
Inner Ear: Use dark pink/make 2
1. Ch 5. Sc in the 2nd ch from hook and sc across. Ch 1. Turn.
2 – 3. Sc in each st across. Ch 1. Turn.
4. Dec twice. Ch 1. Turn.
5. Dec.
6. Ch 1 and sc around the entire inner ear.
Ss and F/O. Leave a long tail to attach the inner ear to the inside of the ear.
Legs: Use light pink/make 4
1. Ch 2. 6 sc in the first ch. Do not join.
2. 2 sc in each st around.
3. *1 sc, inc. Repeat from * around.
4 – 8. Sc in each st around.
9. *1 sc, dec. Repeat from * around.
Ss and F/O. Stuff. Leave a long tail to attach legs to the body.
Tail: Use light pink
1. Ch 12.
2. Hdc in 2nd ch from hook and in every ch across.
F/O and leave a long tail to attach to the bottom of the body.
Felt Features:
Cut out two thin crescent moons from the black felt for the eyes. Glue them on about 9 rounds from the snout. Cut out two black ovals for the nostrils and glue them on the end of the snout. Weave in all your ends and you are done!
This Legend of Zelda crochet pattern will work even if you just want to make a regular crochet pig, but I am very proud of how my crochet Wind Waker pig turned out.
Make sure to share any pictures you take of your Wind Waker pig plush with me on social media @summerbugcrafts!
Don’t forget to save this pattern to Pinterest for later or share it on social media!

You Might Like…

