Beginner Amigurumi Tips
Use these beginner amigurumi tips to start making and improving your crochet plushies right away!

Hi everyone!
Amigurumi isn’t as scary or as complicated as it looks. It takes practice! There are lots of beginner patterns out there. I’ve learned a lot of things concerning amigurumi over the years. I’ve made plenty of mistakes, but I’ve had plenty of wins, too! Let me share with you what worked for me.
Clicking on certain links may result in a small commission for me at no extra cost to you. Money generated from this allows me to continue to design and post cute amigurumi patterns for you all!
Beginner Amigurumi Tips
Yarn:
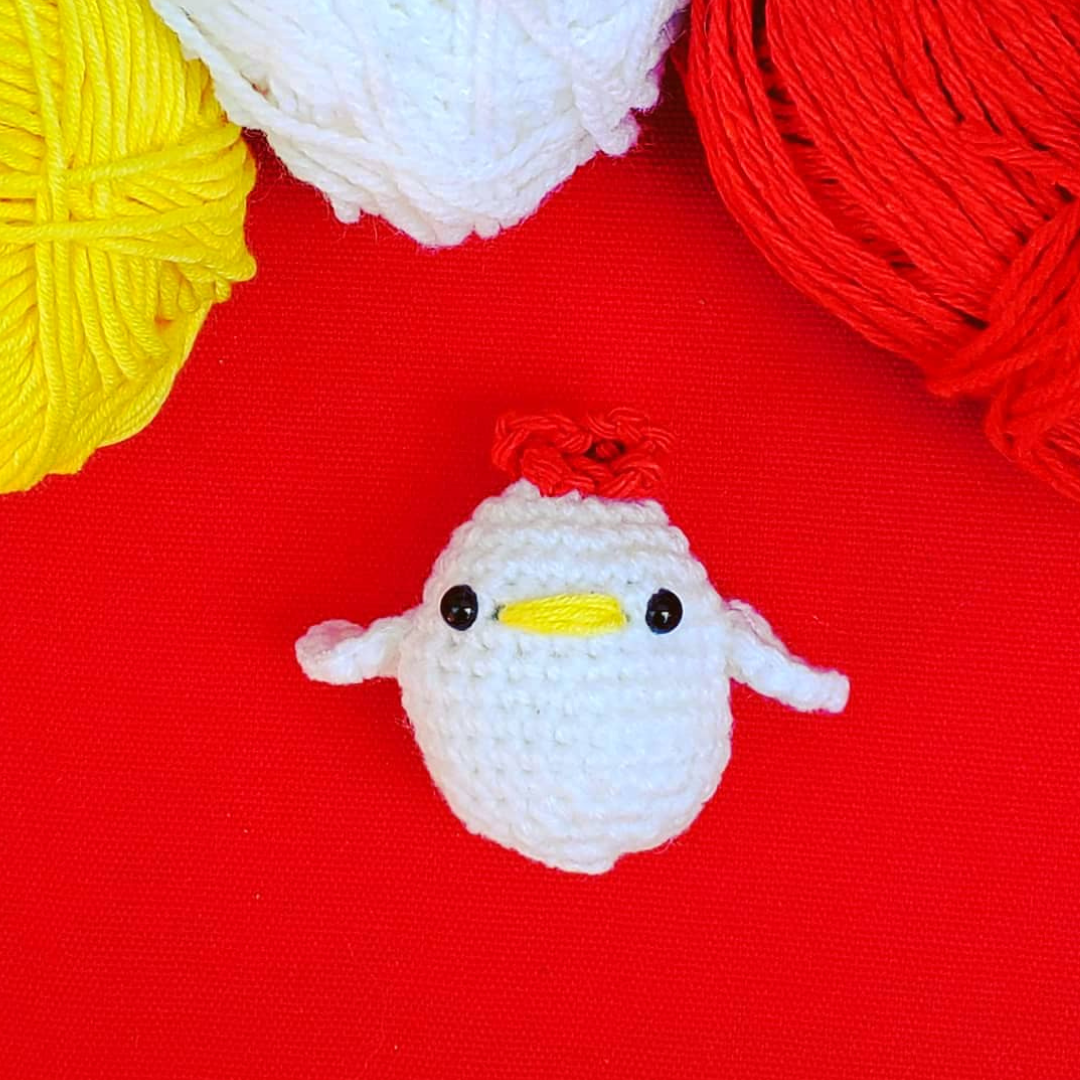
The best yarn to use with amigurumi is worsted/Aran weight yarn. This yarn holds its shape and is usually machine washable. Medium-weight yarn is generally inexpensive. It comes in a variety of colors and brands. I love using Red Heart Supersaver. It’s cheap for a big ball, and the acrylic blend is easy to work with. It holds its shape perfectly. Using 100% cotton yarn for amigurumi is also a favorite of mine. Bernat Handicrafter Cotton is easy to find in any craft store. Feel free to experiment with different yarn weights and blends. Making amigurumi with chunky/bulky yarn has grown quite popular. I designed a giant Dratini with Bernat Blanket Yarn, and Gengar using Bernat Velvet Yarn. Never be afraid to try something new!
Rows & Rounds:
To work in the round means you are continuously joining stitches. You aren’t turning and chaining like crochet rows. Most amigurumi patterns are worked in rounds. Sometimes amigurumi shapes can only be accomplished by crocheting in rows.
Wrong Side & Right Side:
When crocheting, every piece has a “right side” and a “wrong side.” The difference can be seen more easily on amigurumi pieces than on a shawl. A good indicator for the right side is that the stitches look like the letter “v” while the wrong side looks like horizontal bars. I used to crochet my amigurumi and wondered why it looked weird. It’s because I forgot to have the right side on the outer shell of my amigurumi! An easy fix is to flip your piece inside out shortly after you finish the first few rounds. Check out my video to show you the difference between the crochet right side and the wrong side.
Magic Circle:
A lot of amigurumi patterns start with a magic circle. The magic circle technique can be tricky for beginners. I recommend using something called the ch 2 method. There is a never-ending debate on which way is superior. It all comes down to your personal preference, skill, and comfort.
Take Breaks:
Take lots and lots of breaks. Using a smaller hook and tight tension for so long will cause your hands to cramp. Take your time, and I suggest you read over the pattern to know if you are headed in the right direction.
Amigurumi may look scary, but it can be fun and rewarding! I find it easier than making sweaters and hats. Nothing feels better than giving someone a plushie you crocheted yourself.
You Might Like…